Settings
 Fast Delivery
 Free Shipping
 Incoterms
 Payment Types


 Marketplace Product

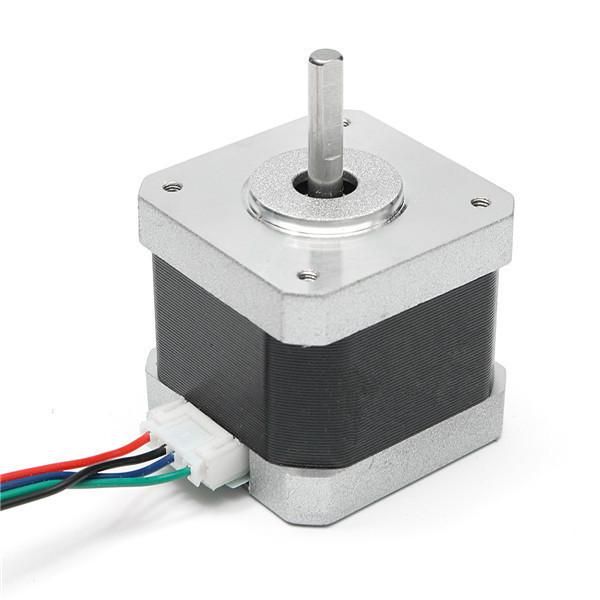
NEMA 17 Stepper Motor Set Sequence of Steps, Speed & Direction With A498
2026-05-29 | By Ron Cutts
License: GNU Lesser General Public License Microcontrollers Motors PWM Serial / UART Stepper Arduino ESP32
In this tutorial we will learn how to set a sequence of steps and direction for the stepper motor NEMA 17 and repeat them in a loop.
Watch the Video!
Learn more about Visuino: What is Visuino
What You Will Need
Arduino UNO (Or any other Arduino)
Visuino program: Download Visuino
Circuit
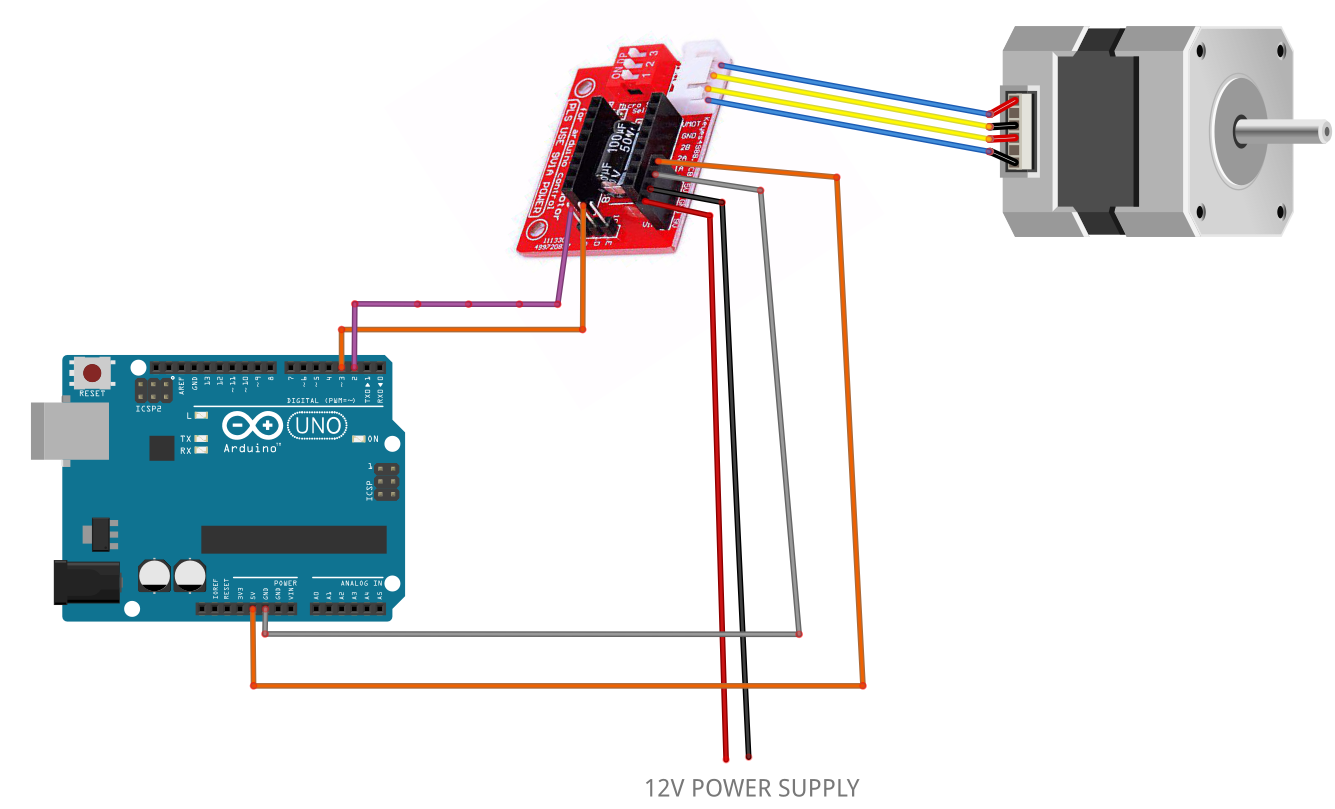
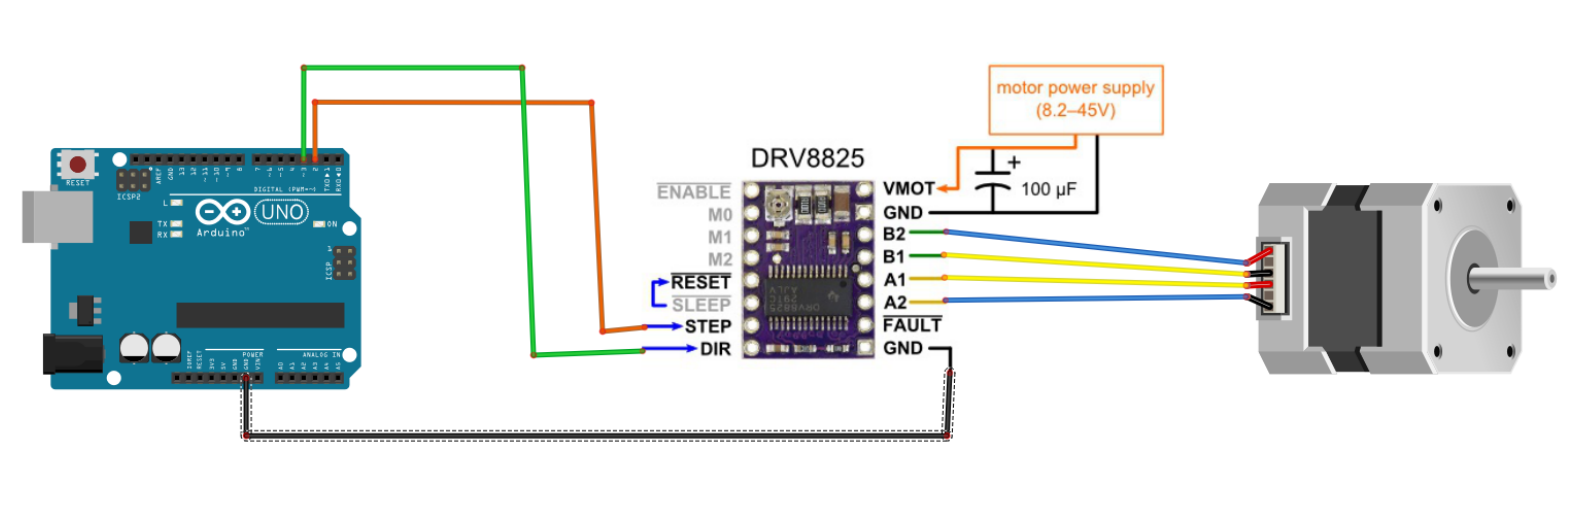
Arduino Digital Pin 2 will be used for Steps
Arduino Digital Pin 3 will be used for motor direction.
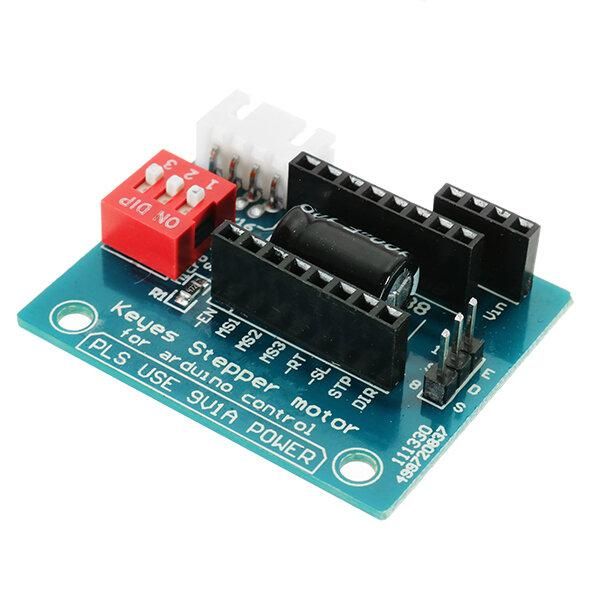
If using a Stepper Motor Driver Shield:
Connect the Motor Shield GND pin to the Arduino negative pin [GND]
Connect the Motor Shield [5V] pin to the Arduino positive pin [5V]
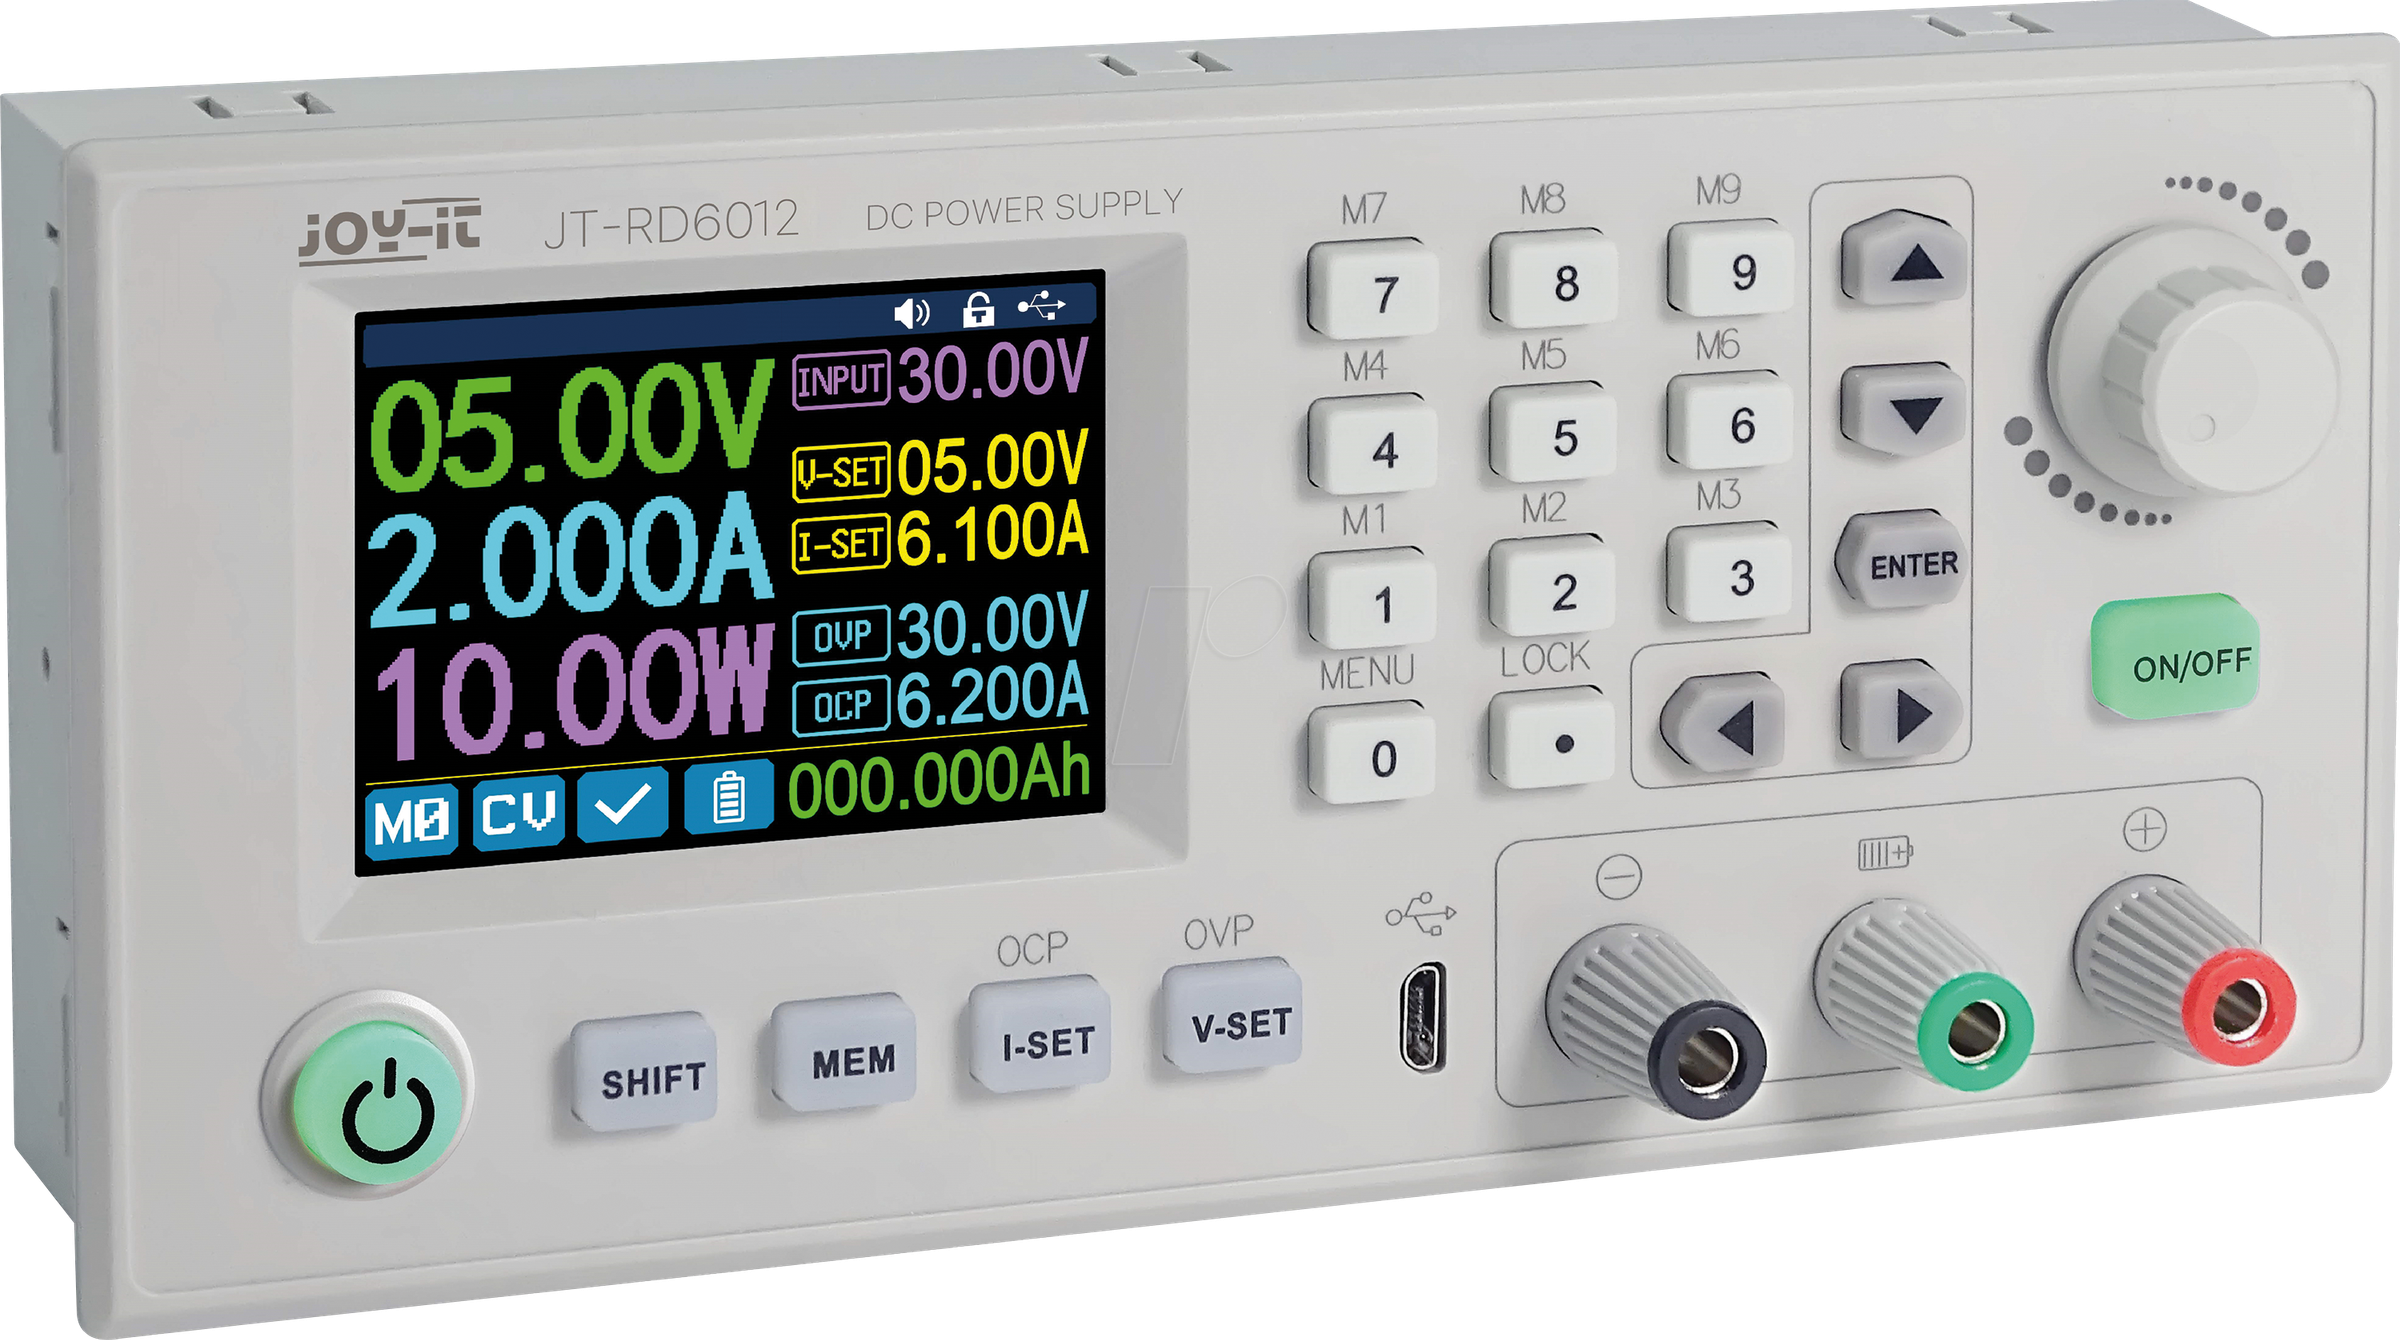
Connect the Motor Shield GND pin to the Power Supply negative pin [GND]
Connect the motor shield [9V] pin to the power supply's positive pin [+]
Connect the Motor Shield pin[S] to the Arduino digital pin [2]
Connect the motor shield pin [D] to Arduino digital pin [3]
Connect the stepper motor as shown in the picture.
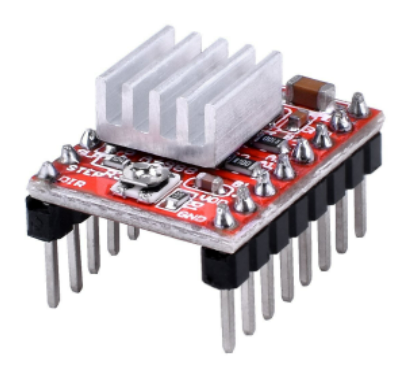
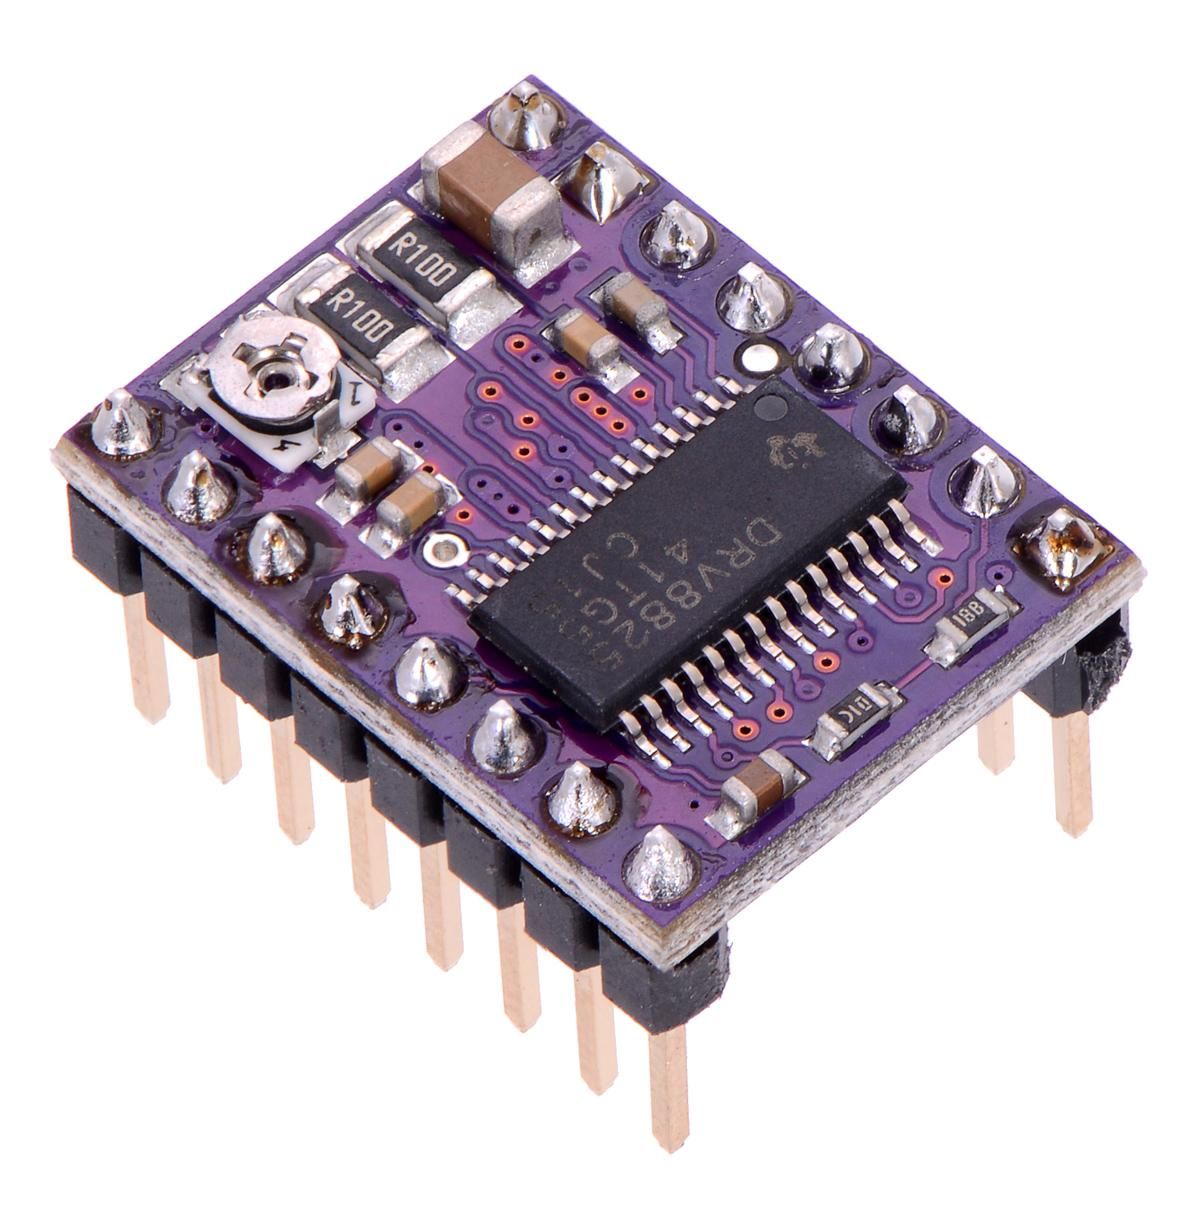
If using a Stepper Motor Driver 8825:
Connect the DRV8825 GND pin to the Arduino negative pin [GND]
Connect the DRV8825 DIR pin to Arduino digital pin [3]
Connect the DRV8825 STEP pin to Arduino digital pin [2]
Connect the Power Supply for the motor to the DRV8825 VMOT and GND
Connect the Capacitor across VMOT and GND
Connect the stepper motor as shown in the picture.
Start Visuino, and Select the Arduino UNO Board Type
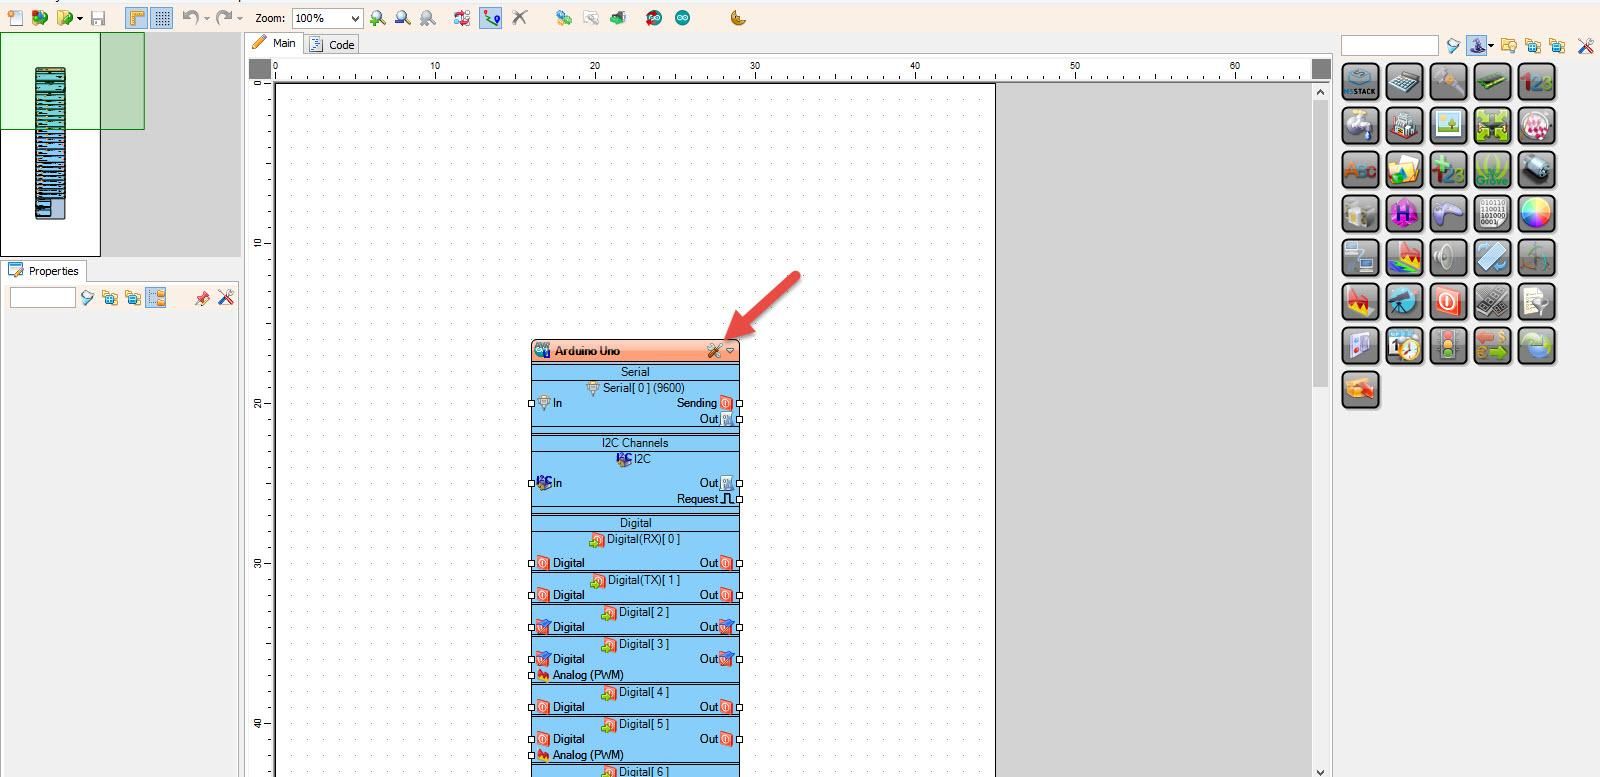
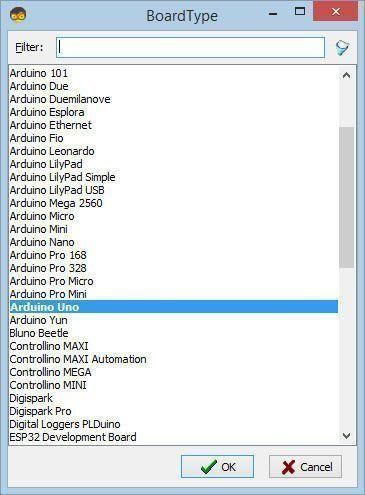
Start Visuino as shown in the first picture. Click on the "Tools" button on the Arduino component (Picture 1) in Visuino. When the dialog appears, select "Arduino UNO" as shown in Picture 2
In Visuino, Add Components
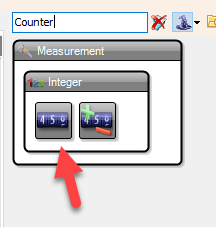
Add "Counter" component
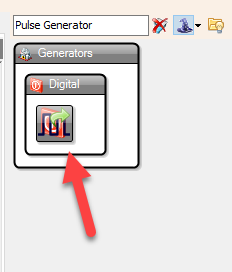
Add "Pulse Generator" component
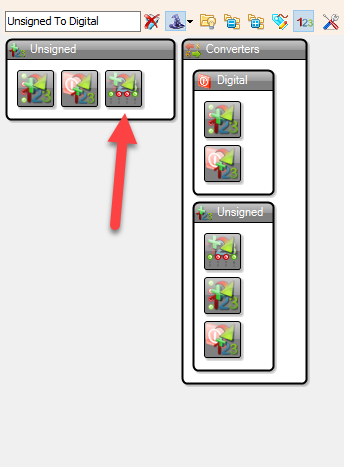
Add "Unsigned To Digital" component
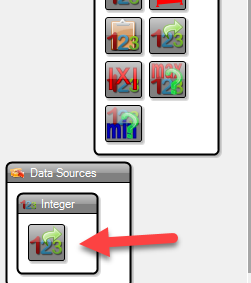
Add "Integer Value" component
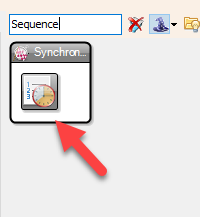
Add "Sequence" component
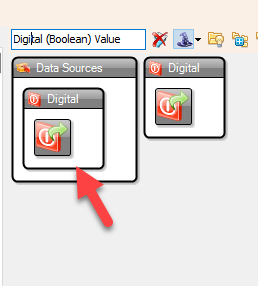
Add "Digital (Boolean) Value" component
In Visuino Set Components
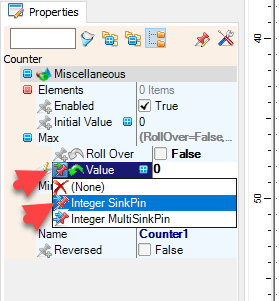
Select "Counter1" and in the properties window select "Max" > "Value" and click on the Pin Icon and select "Integer SinkPin"
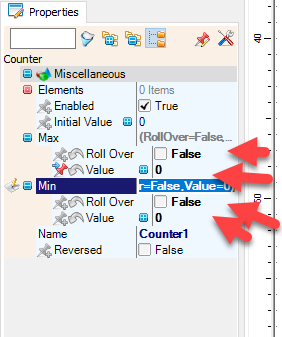
Select "Counter1" and in the properties window, set "Max" > "Value" to 0 and "Roll over" to False
Select "Counter1" and in the properties window, set "Min" > "Value" to 0 and "Roll over" to False
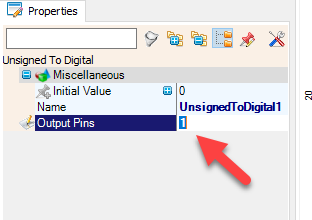
Select "UnsignedToDigital1" and in the properties window set "Output Pins" to 1
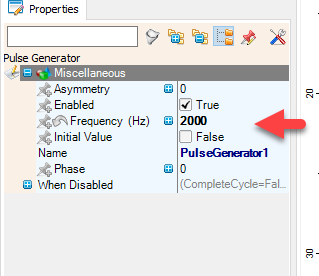
Select "PulseGenerator1" and in the properties window set "Frequency" to 2000 << this will be the speed of the stepper motor; you can adjust it to your needs
Setting the steps:
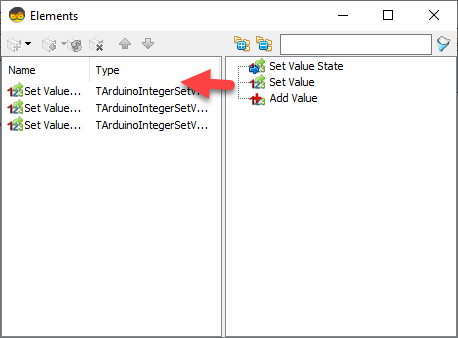
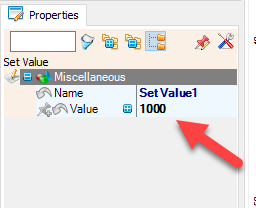
Double click on the "IntegerValue1" and in the Elements window, drag "Set Value" to the left side and in the Properties window, set "Value" to 1000
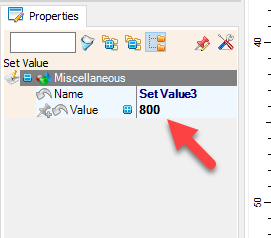
Drag another "Set Value" to the left side, and in the properties window, set "Value" to 800
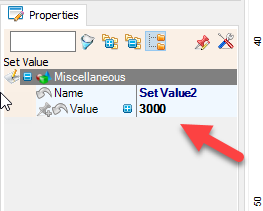
Drag another "Set Value" to the left side and in the properties window, set "Value" to 3000
Close the Elements window
Setting the direction:
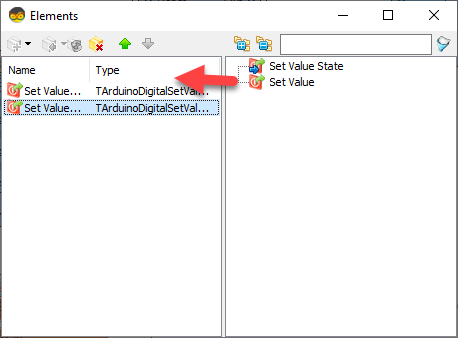
Double click on the "DigitalValue1" and in the Elements window, drag "Set Value" to the left side
Drag another "Set Value" to the left side, and in the properties window, set "Value" to True
Close the Elements window
Setting the Sequence:
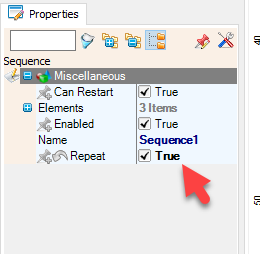
Select "Sequence1" and in the properties window set "Repeat" to True
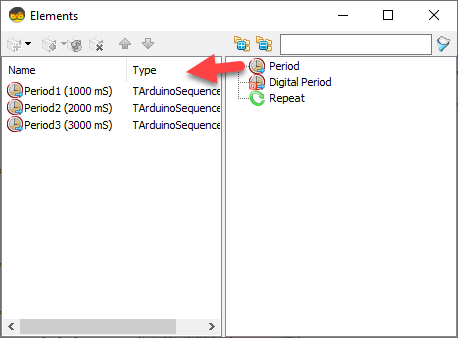
Double-click on the "Sequence1" and in the Elements window, drag "Period" to the left side
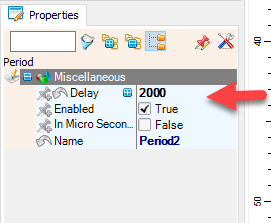
Drag another "Period" to the left side and in the properties window, set "Delay" to 2000
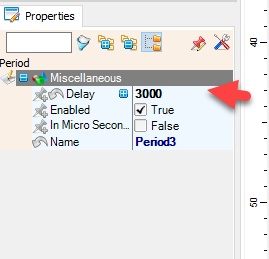
Drag another "Period" to the left side, and in the properties window, set "Delay" to 2000
Close the Elements window
In Visuino Connect Components
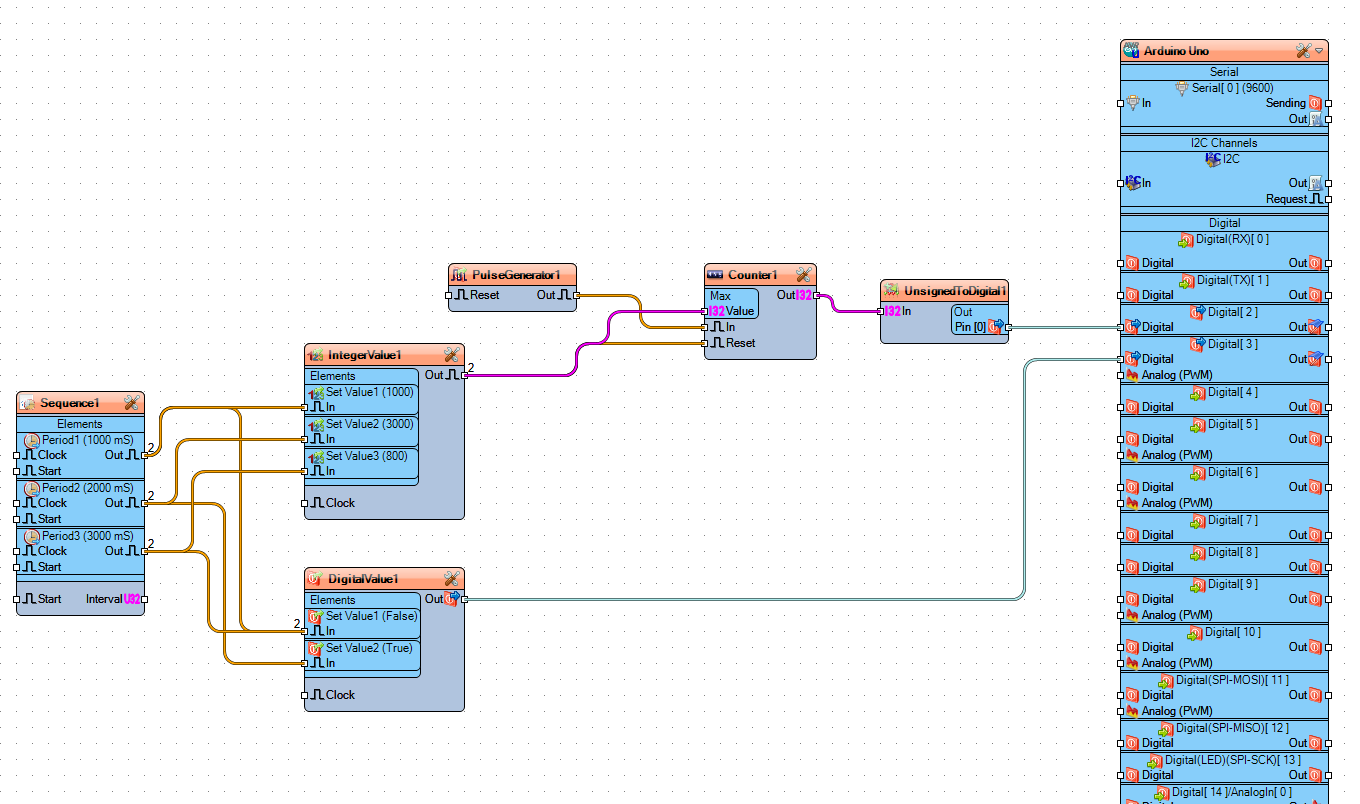
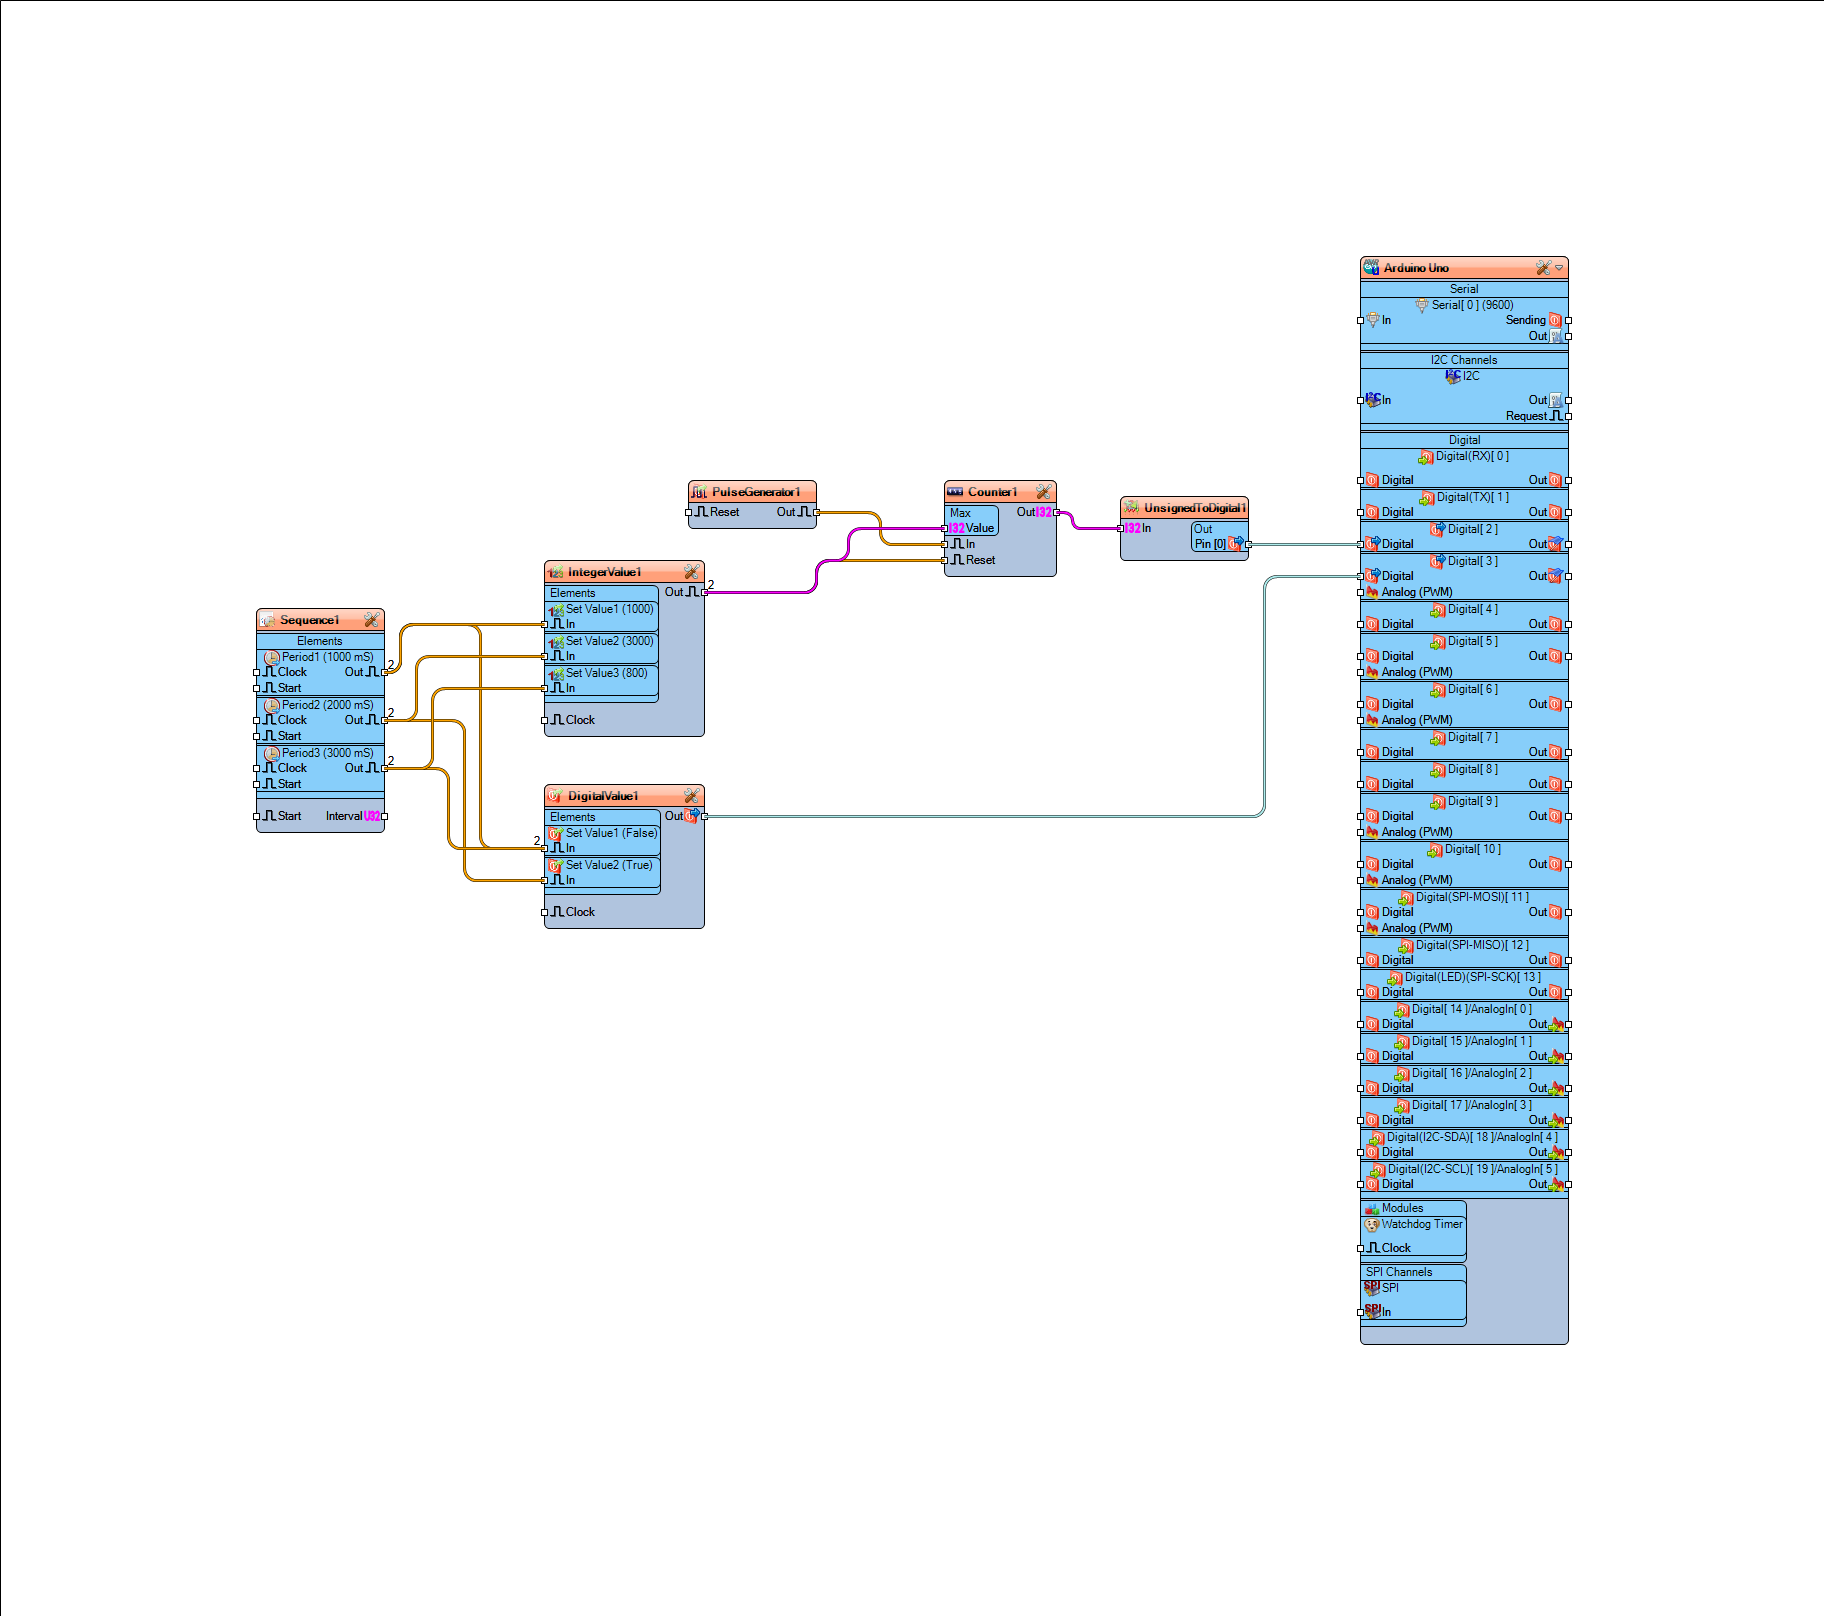
Connect "Sequence1" > "Period1" pin [Out] to "DigitalValue1" > "Set Value1" pin [In]
Connect "Sequence1" > "Period1" pin [Out] to "IntegerValue1" > "Set Value1" pin [In]
Connect "Sequence1" > "Period2" pin [Out] to "DigitalValue1" > "Set Value2" pin [In]
Connect "Sequence1" > "Period2" pin [Out] to "IntegerValue1" > "Set Value2" pin [In]
Connect "Sequence1" > "Period3" pin [Out] to "DigitalValue1" > "Set Value1" pin [In]
Connect "Sequence1" > "Period3" pin [Out] to "IntegerValue1" > "Set Value3" pin [In]
Connect "PulseGenerator1" Pin[Out] to "Counter1" Pin [In]
Connect "IntegerValue1" Pin [Out] to "Counter1" Pin [Reset]
Connect "IntegerValue1" Pin [Out] to "Counter1" > 'Max > Value" Pin [In]
Connect "Counter1" Pin [Out] to "UnsignedToDigital1" Pin [In]
Connect "UnsignedToDigital1" Pin [Out] to Arduino Board Digital Pin [2]
Connect "DigitalValue1" Pin [Out] to Arduino Board Digital Pin [2]
Generate, Compile, and Upload the Arduino Code
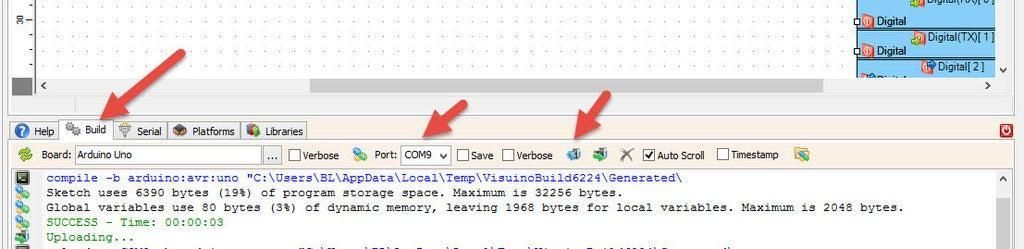
In Visuino, at the bottom, click on the "Build" tab, make sure the correct port is selected, then click on the "Compile/Build and Upload" button.
Play
If you power the Arduino module and press the button, the motor will start to run, and when it reaches a certain number of steps, in our case 1000, it will change the direction and do 800 steps, and after that, change the direction again and do 3000 steps. Because we set the sequence component Repeat to True, the motor will continue to do this in a loop.
Congratulations! You have completed your project with Visuino. Also attached is the Visuino project that I created for this. You can download it here and open it in Visuino: https://www.visuino.eu