Codice produttore A000066
ARDUINO UNO R3 ATMEGA328P BOARD
Arduino
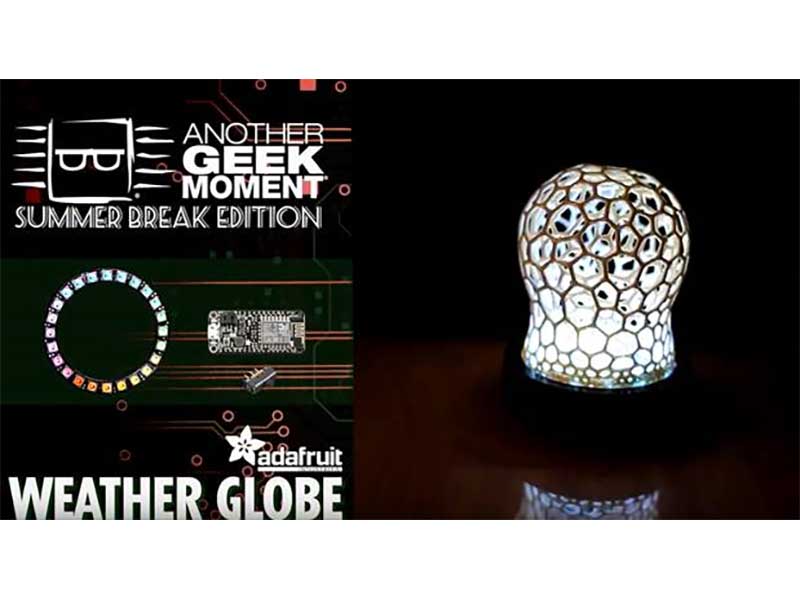
License: GNU Lesser General Public License Microcontrollers WS2812/SK6812 (NeoPixel) Arduino ESP32
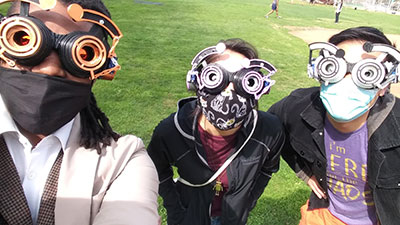
We will learn how to make the legendary steampunk goggles that change colors. If you haven't yet, please check out my first SteamPunk Goggles tutorial.
Watch the video!
Learn more about Visuino: What is Visuino
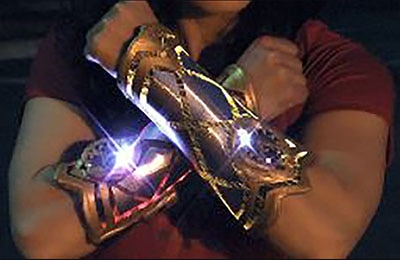
Welding goggles
Arduino UNO (or any other Arduino)
Jumper wires
Visuino software: Download Visuino


If you plan to power the Arduino with a battery, you can use a power bank that has a USB connector so you can connect it easily.
If you plan to use a 9V battery or similar, then using wires, connect a battery negative pin (-) to Arduino pin [GND] and connect a battery positive pin (+) to Arduino pin [VIN]
Connect the Arduino board pin 5V to the first LedRing pin VCC
Connect the Arduino board pin GND to the first LedRing pin GND
Connect the Arduino board's digital pin 2 to the first LedRing pin DI
Connect the Arduino board pin 5V to the second LedRing pin VCC
Connect the Arduino board pin GND to the second LedRing pin GND
Connect the Arduino board's digital pin 3 to the second LedRing pin DI
Wire everything according to the schematic, then use hot glue and mount each ring on the goggles

The Visuino: https://www.visuino.eu also needs to be installed. Download the free version or register for a free trial.
Start Visuino as shown in the first picture. Click on the "Tools" button on the Arduino component (Picture 1) in Visuino. When the dialog appears, select "Arduino UNO" as shown in Picture 2


Add "Pulse Generator" component
Add "Random Color" component
Add "Ramp To RGBW Color Value" component
Add 2X "NeoPixels" component


Double-click on the "NeoPixels1" and in the "PixelGroups" window, drag "Color Pixel" to the left side, and in the properties window, set "Count Pixels" to 12 <this is the number of LEDs on the LED ring
Close the "PixelGroups" window
Double-click on "NeoPixels2," and in the "PixelGroups" window, drag "Color Pixel" to the left side, and in the properties window, set "Count Pixels" to 12 (this is the number of LEDs on the LED ring).
Close the "PixelGroups" window


Connect "PulseGenerator1" pin Out to "RandomColor1" pin clock
Connect "RandomColor1" pin Out to "RampToValue1" pin In
Connect "RampToValue1" pin Out to "NeoPixels1" pin Color
Connect "RampToValue1" pin Out to "NeoPixels2" pin Color
Connect "NeoPixels1" pin Out to Arduino digital pin 2
Connect "NeoPixels2" pin Out to Arduino digital pin 3

In Visuino, at the bottom, click on the "Build" tab, make sure the correct port is selected, then click on the "Compile/Build and Upload" button.

If you power the Arduino module, the LED rings will start to change colors.
Congratulations! You have completed your project with Visuino. Also attached is the Visuino project that I created for this. You can download it and open it in Visuino: https://www.visuino.eu